Below are two possible scenarios that may occur if you want to play audio in the classroom, with solutions.
Even if you learn how to change these audio settings on your Windows PC but forget later, we can quickly help you via the classroom phone.
This is an accordion element with a series of buttons that open and close related content panels.
Ensuring that audio from your Windows PC goes to the classroom speakers
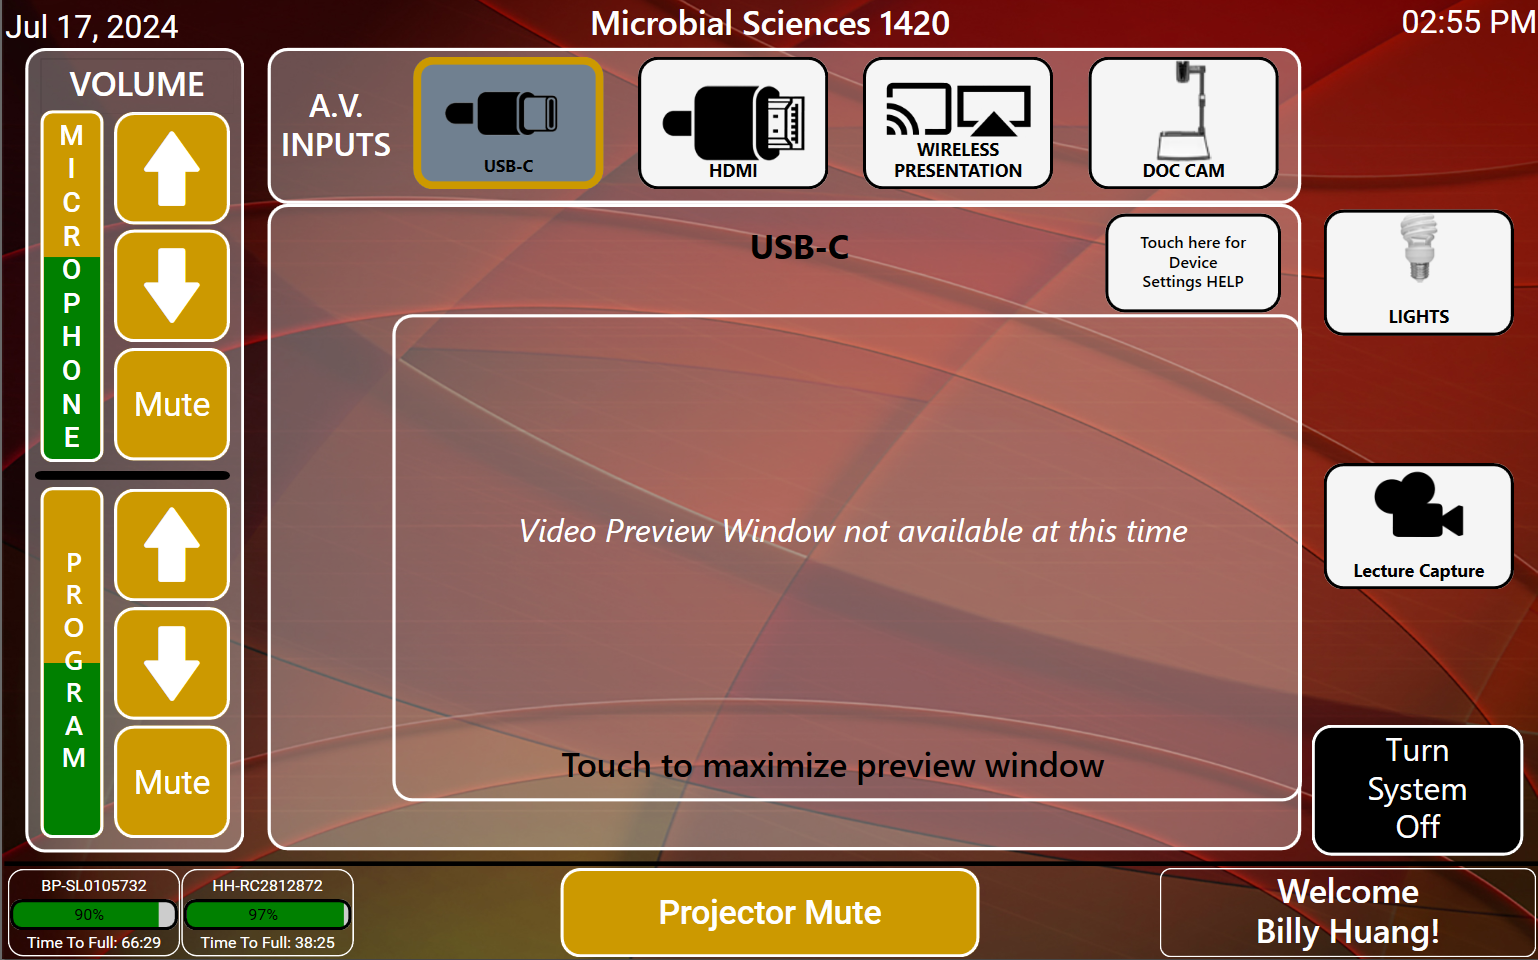
STEP 1: On the podium touch panel, select the video input best suited for your laptop and ensure that the program volume on the Touch Panel is between 30% to 50%. In this example, we are using USB-C.

STEP 2: Move your cursor to the notification area(right corner of the taskbar), and click on the “Sound” icon.

STEP 3: A menu will open options to change the Wi-Fi, Bluetooth, battery and Sound. Click the really small arrow next on the far left side of the volume slider.

STEP 4: Clicking the arrow will bring up a list of available audio output devices. Most likely it’s still on your laptop’s internal speakers “Speaker/Headphone(Realtek High Definition Audio)”. In the screenshot below, the sound output you want to select for the classroom speakers when you are using the USB-C cord is “Line Out(ClassroomXXXLaptopNV21 Sound Card)”

Depending on the classroom you are in, thee sound output for the USB-C or HDMI cord may have these names:
- An option called “DVX 2250” or “NV21” or something similar should generate.
- If you are in a “Collaborative Learning Classroom,” it’ll probably be called “SvSi” or something similar.
- If you are really using the USB-C cord or HDMI cord, do not select the sound output that is named after the classroom. That is the sound output for the Wireless Presentation Source and will not work with the video cord plugged in.
Select the output for the AV System. Play a clip from YouTube or a video or audio file on your computer. Audio from your computer should be audible on the classroom speakers at this point.
Adjust volume on the “Program Volume Slider” Touch Panel accordingly.
Playing Zoom Audio through the Classroom Speakers
If you want to use Zoom in our classrooms to feature a guest speaker, it is not enough to change the general audio settings on your laptop. You will also have to change the sound settings in Zoom.
If you have your Zoom meeting open
First ensure that the (Program) volume on the Touch Panel is not set to the max. Recommend 30-40% for Program Speakers.
With your Zoom meeting open and live, move your cursor to the lower left hand corner of that window where the microphone icon is located. Click that little gray arrow as pictured below.

When you click that little gray arrow, you’ll get a large sub-menu. Navigate to the “Select a Speaker” section and click “DVX 2250.” Depending on the room you are in, it may be “DVX 3150” or “DVX 3250” or “Enova DVX 2250.” However that is expressed, select the option similar to that as pictured below:

Your guest speaker should be audible on the classroom speakers.
Another way to change the audio on Zoom
- First ensure that the (Program) volume on the Touch Panel is not set to the max. Recommend 30-40% for Program Speakers.
- With the Zoom app, click on icon with your initials on the upper right hand corner.
- A drop down menu will appear, click on “Settings.” Might be displayed as a Gear icon instead.
- A window should pop up resembling the screenshot below

- Click on “Audio” as indicated on the screenshot.
- Under Speaker, to the left of the “Test Speaker” button, click the drop down menu. You should see some options. Probably “Built-in speakers” and “same as system” and “DVX 2250.” Select “DVX 2250.” If you are using the “Analog Laptop” connection, use “same as system.” Once the correct audio output is selected, the guest speaker should be audible on the classroom speakers.
To proceed with the tutorial, press any of the program volume control buttons on the Touch Panel. It can be the up or down or mute program volume button. Press one of those, and you’ll get to the next stage of the Tutorial.