Classrooms on campus have one of three types of projection screens. Click the accordion panel that best matches your classroom.
This is an accordion element with a series of buttons that open and close related content panels.
ELECTRIC PROJECTION SCREENS
Some rooms on campus like in Nutritional Sciences 290, use electric projection screens that can go up or down automatically or with a press of a button. There are three things to keep in mind when using electric screens.
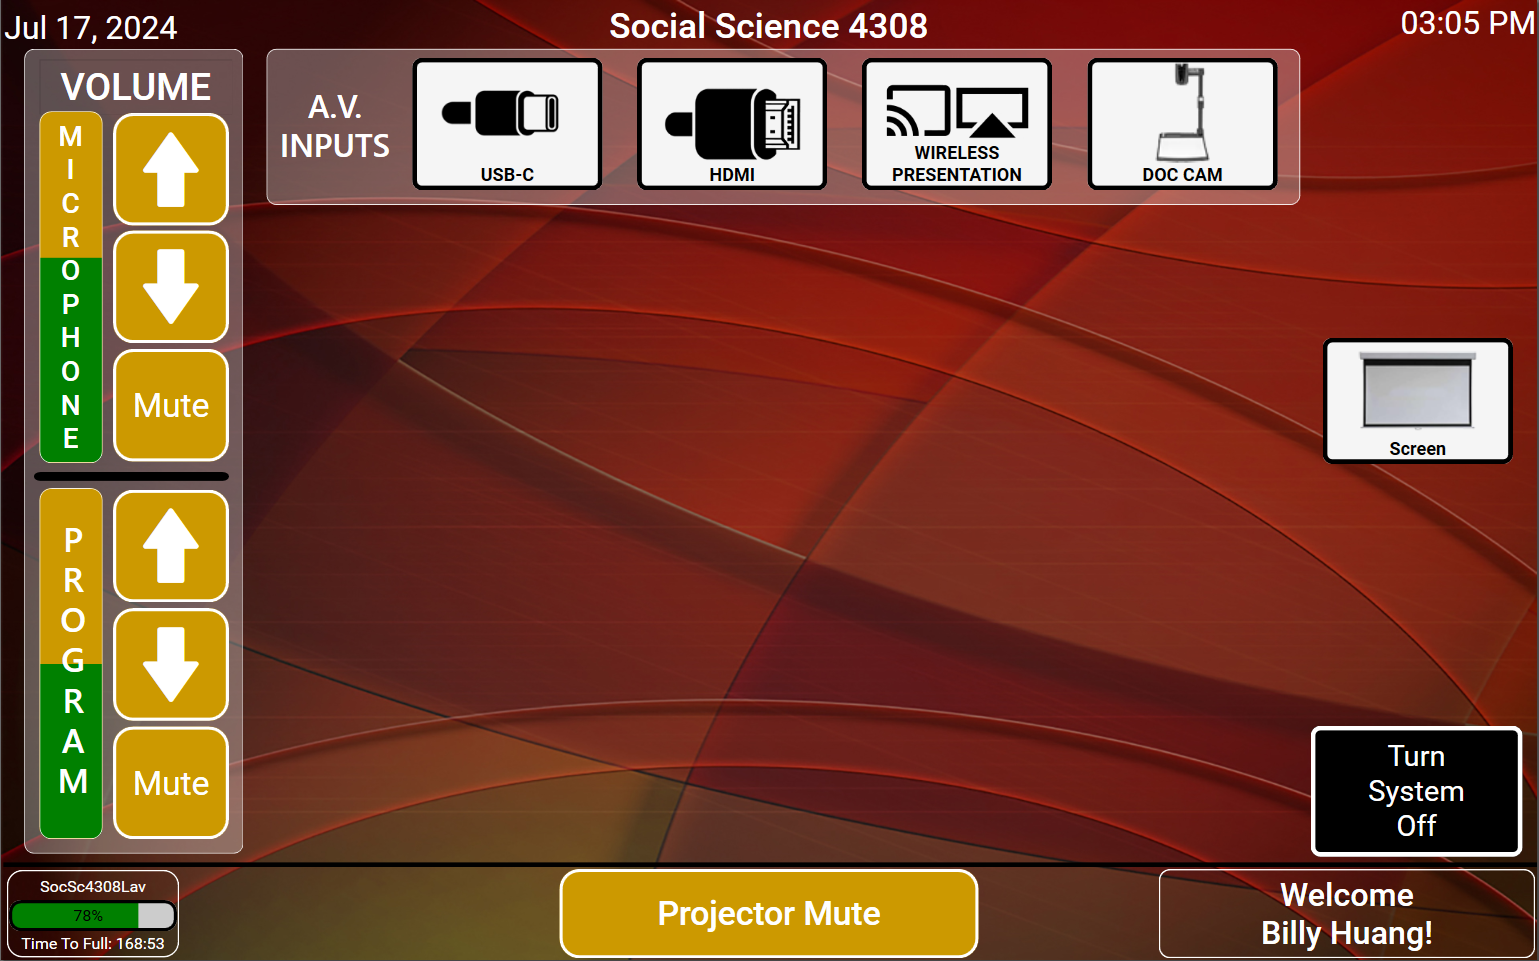
The first is that in classrooms that have electric projection screens, they automatically come down when you press the video input that you want to use on the classroom touch panel. So for example if I have a laptop plugged into the USB-C cord, and I want to start projecting content from it, I press the USB-C button, and then the screen will come down.

The second thing to keep in mind is the inverse. When you’re done teaching and do all the proper shutdown etiquette, the projection screen will automatically retract when you press the black “System Off” Button.
Third, we have a button on the touch panel for rooms with electric screens to move it up or down right over here.

This is for the convenience of instructors that like to share presentation materials from their laptop and switch to using the writing surface in the room like a chalkboard or whiteboard. All you have to do is press the “Screen” button, and press the up button to make the projection screen go up,

You can also press the “Projector Mute” button on the very bottom to block the signal from the projector, so you can comfortably move the screen up or down.

MANUAL PROJECTION SCREENS
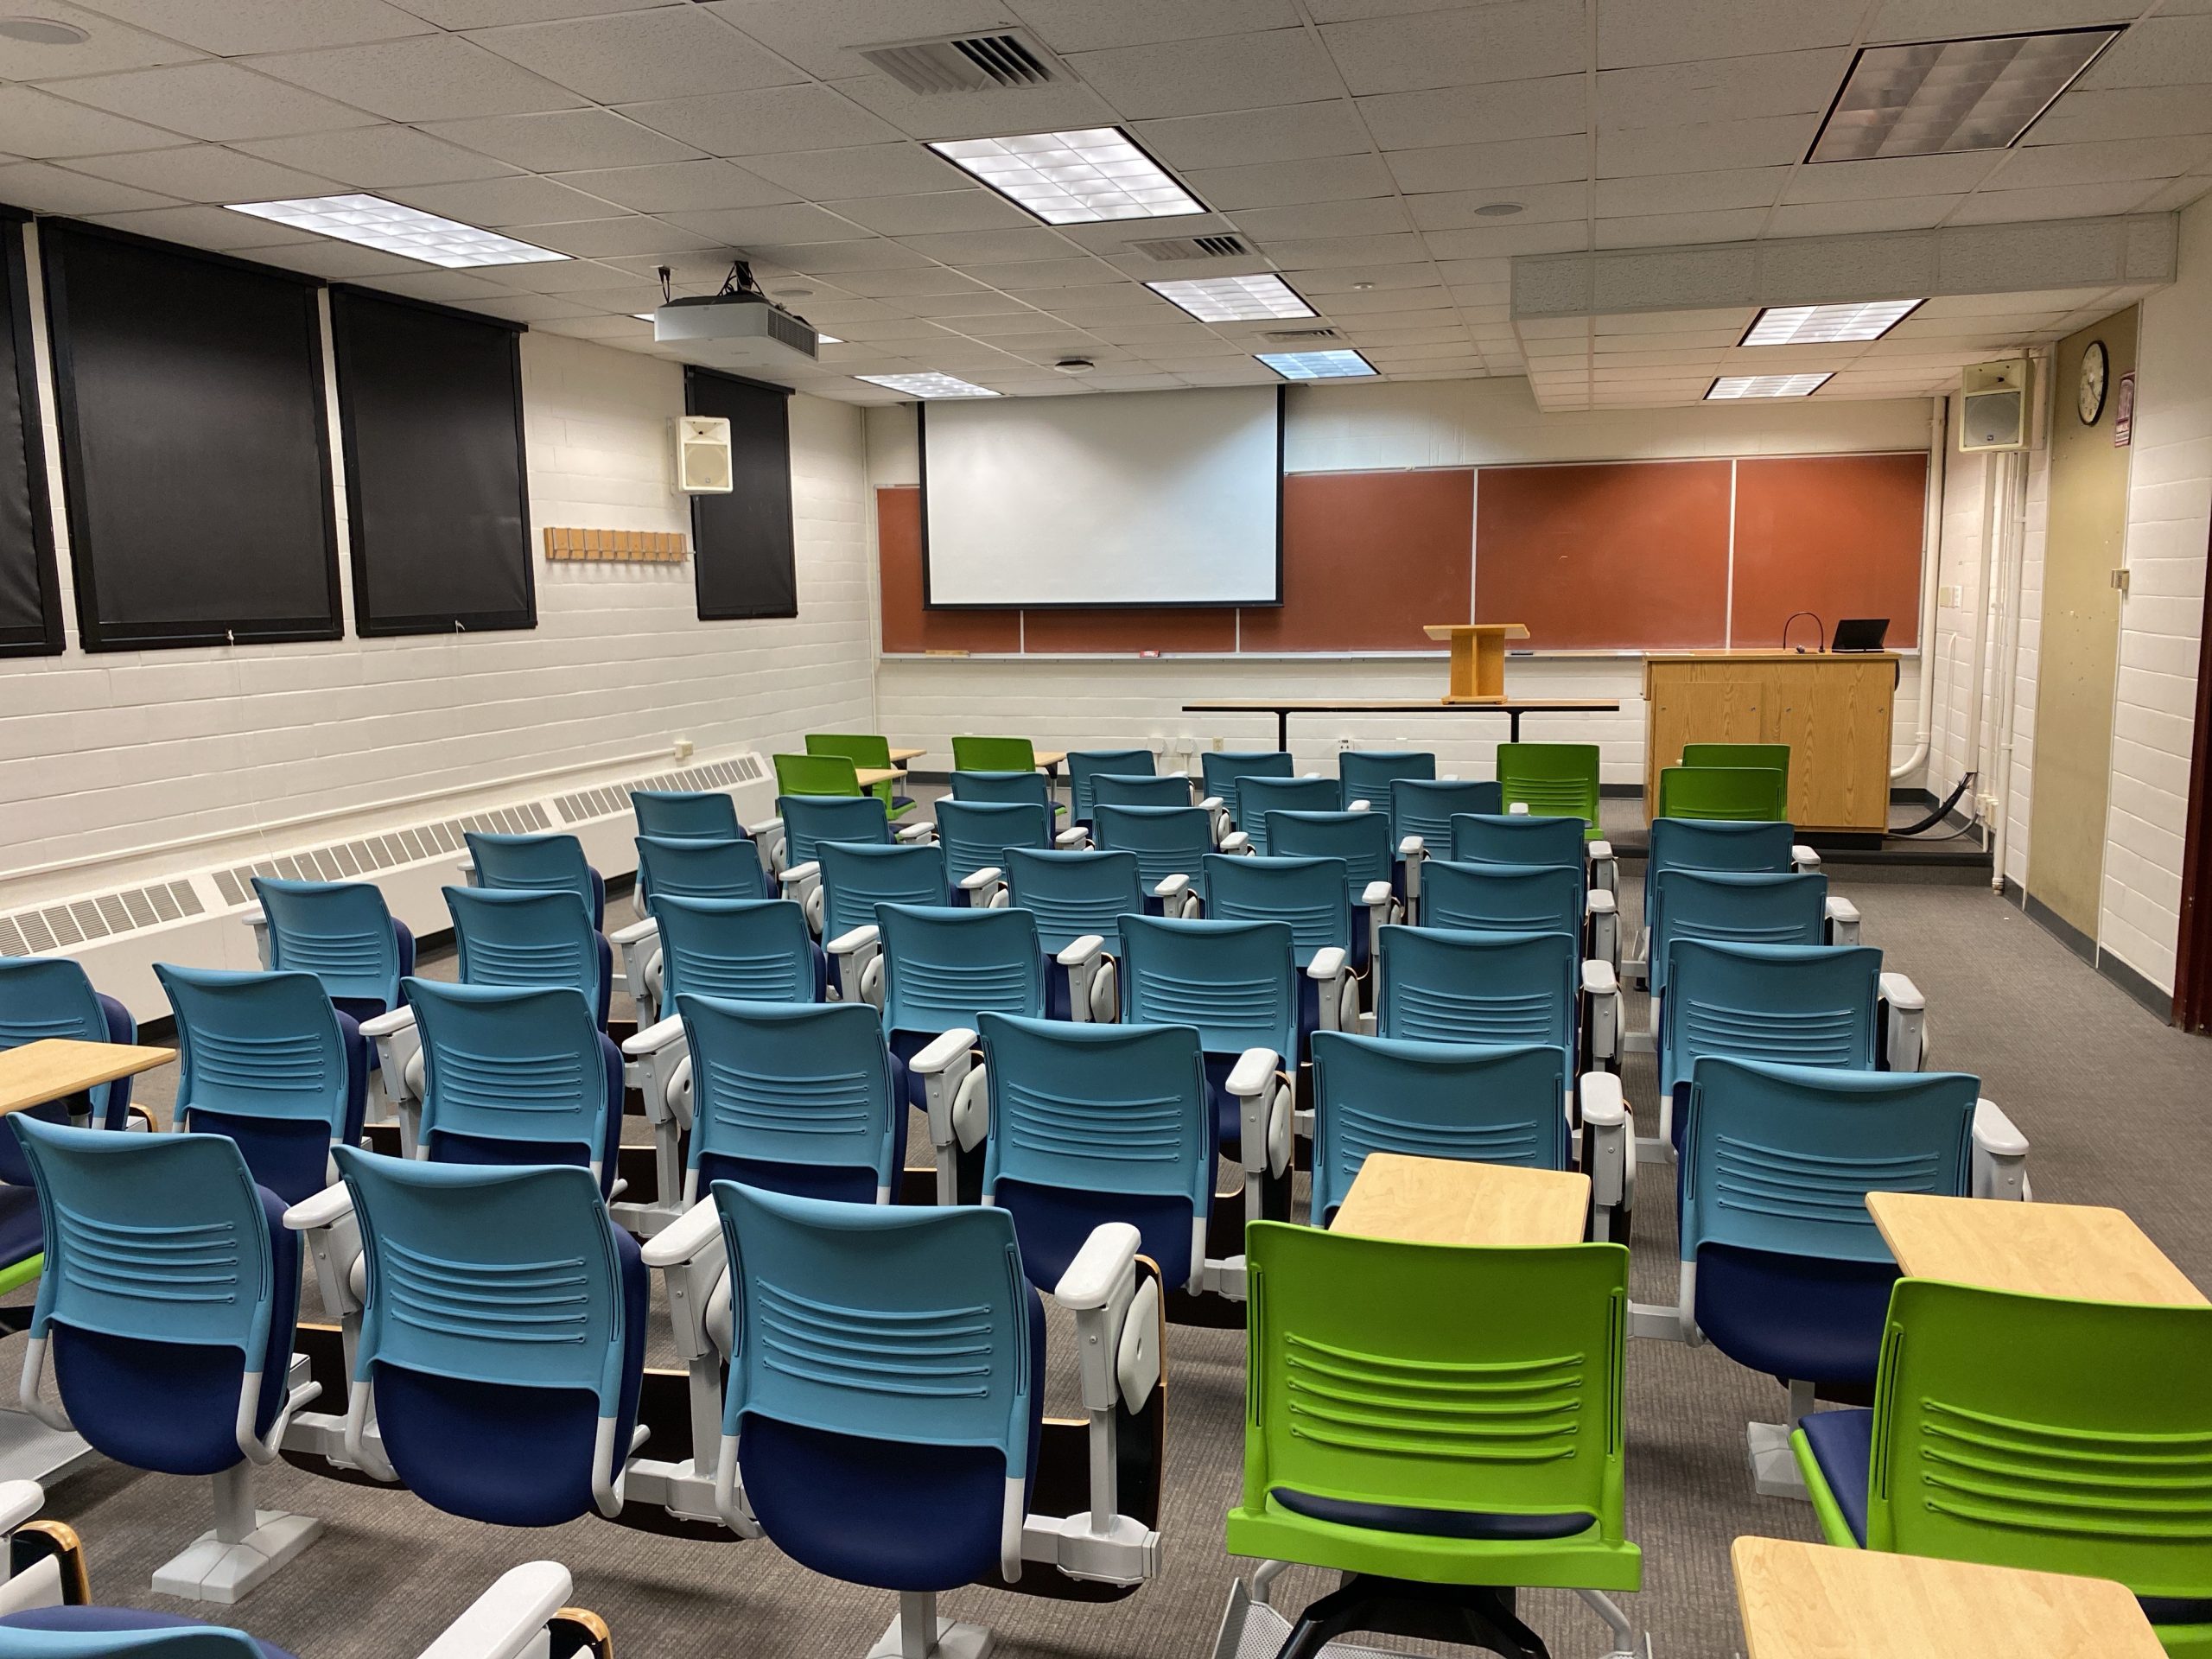
Manual projection screens are common in smaller classrooms that seat 30 to 50 students.
TO LOWER THE PROJECTION SCREEN:
Grasp a hold of the attached cord and pull down and away from the wall in a fluid motion until about 2 inches past the desired location. Hold the screen in place for a few seconds before releasing the string. The screen should retract just slightly and then stay in desired location.
TO RAISE THE PROJECTION SCREEN:
Firmly grasp the cord attached to the bottom of the screen and give it a smooth tug pulling the screen away from the wall. The screen will begin to retract. Allow the retraction to occur while controlling the speed of the roll up by retaining grip on the cord.
FIXED PROJECTION SCREENS
Large classrooms with high ceilings like Agricultural Hall 125 have fixed projection screens.
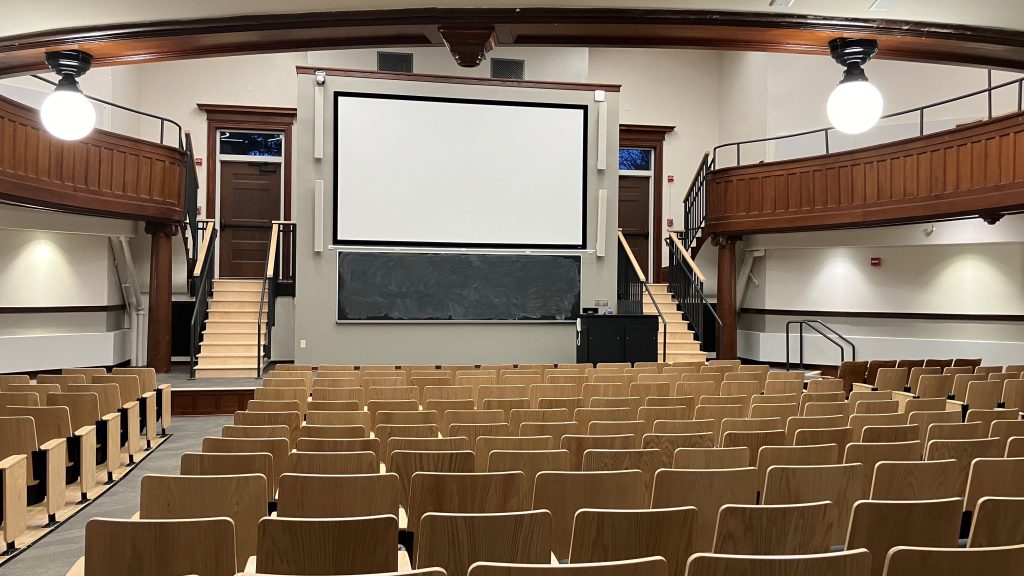
Nothing more is required of the user.
To advance with the tutorial, press the “Screen” button on the Touch Screen Image below.